


I'm talking about my wishlists, my 'I'm Loving' posts, my 'Dress Like Disney' posts etc etc. It's always kind of hard to explain over Twitter or on Facebook so I thought what better than to do a quick and easy 'How To' blog post for you all!

First up I use picmonkey.com (my ultimate blogging weapon!).
These posts normally don't take me too long as most of the time I get all my content prepped before I start making the collage itself.

Once the picture had uploaded I then go straight to 'Canvas Colour' and change it to plain white (colour code ffffff) to give me a fresh base to work on.


I find the picture I want online (e.g. Stitch cushion) and save it to my computer.

Once I've found the image I want when I've clicked on 'Your Own' overlay I just double click and upload it to the picture.
I carry on doing this with all my pictures for the collage and then it's time for the fun part - to re-size, organise and make them into a pretty collage.

For this all I do is click on the photo in question and choose 'Eraser' - I usually whack my eraser size up to fairly large to make things quicker and I just get rid of that white background from the picture that I don't need or that is in the way!


ALWAYS save in PNG form, this ensures that the backdrop to your photo is bright white when uploading it to your blog, normally if you save it in JPG form it is a little grey and doesn't look as good.

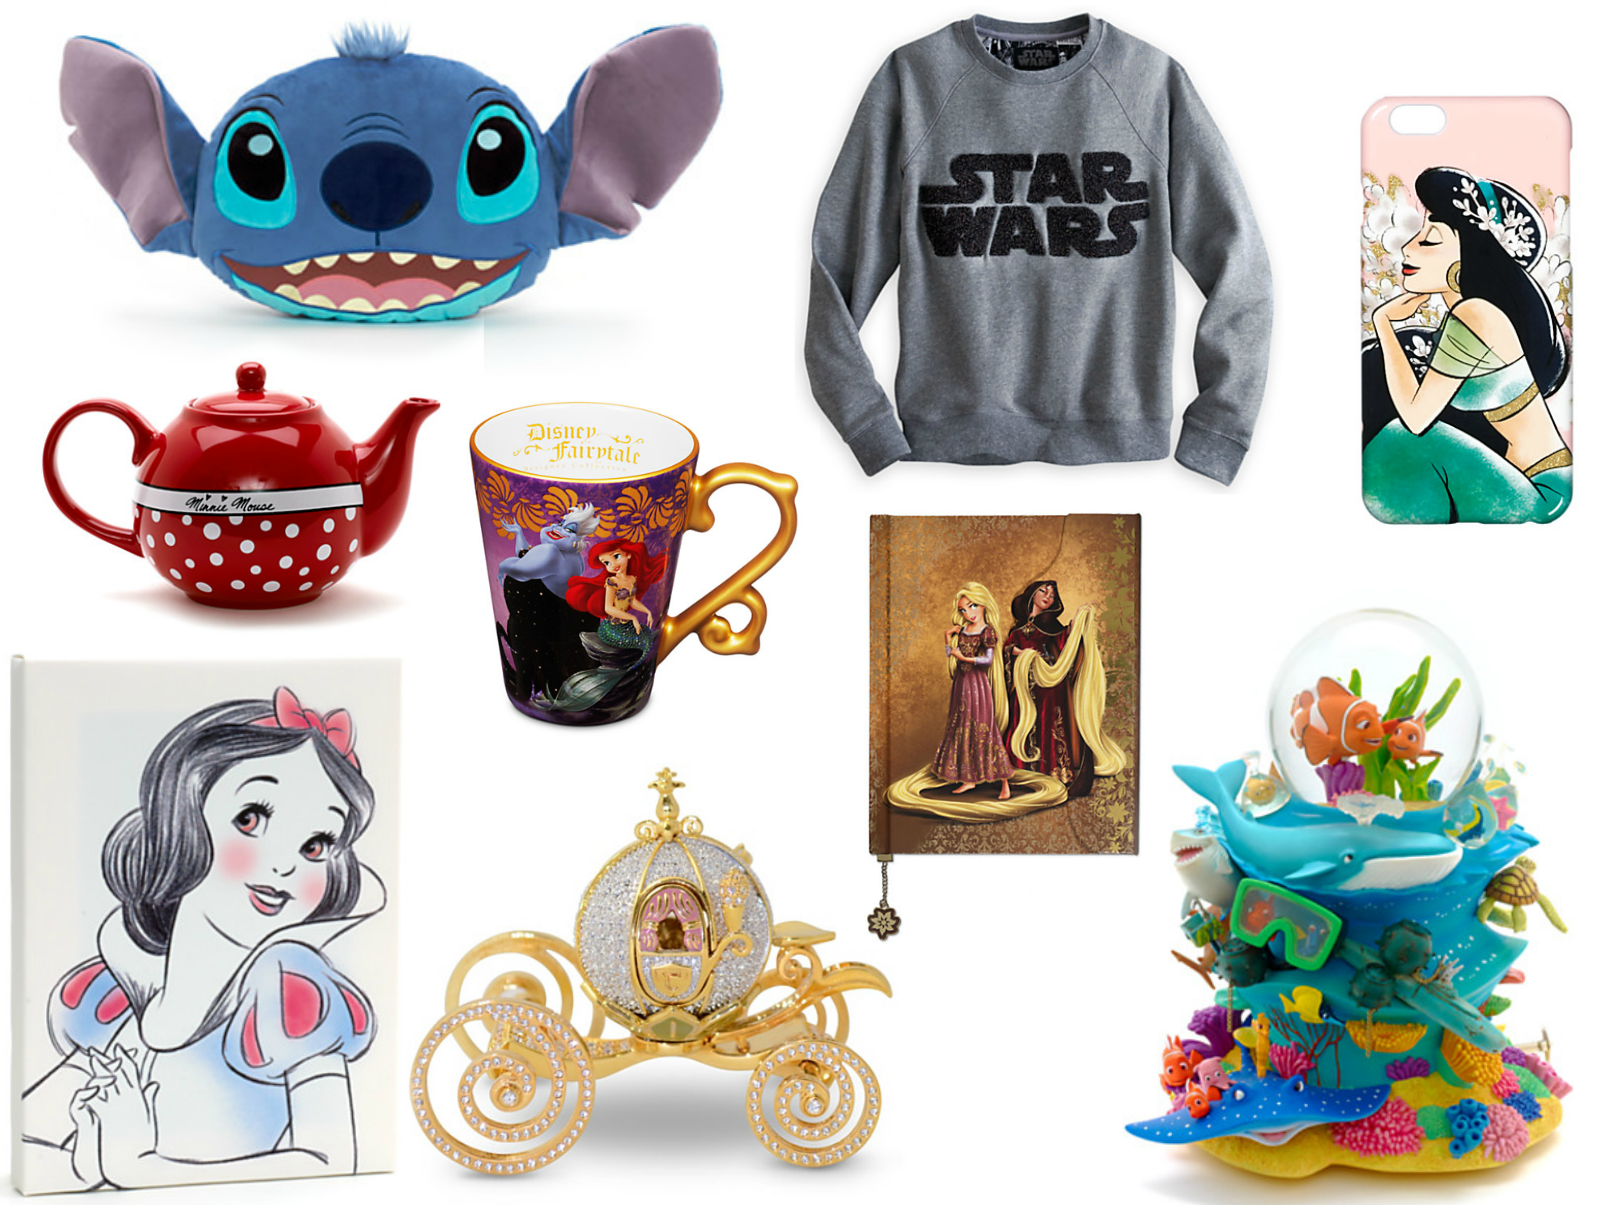
And..... TA DA! Here's the finished project! (Everything pictured from the Disney Store UK)
I hope you guys found this helpful, let me know in the comments below and let me know if you'd like anymore 'How To' posts!
Like this post? Follow A Yellow Brick Blog on Bloglovin so you never miss a thing!
