Big This Week

Recent Posts

Wednesday, 2 August 2017

My Happy Mood Hacks

Sometimes we get into a funk, I do far too often and it pretty pants. You wake up in a mood with a cloud over you that just won't shift, getting annoyed at little things and wishing to be back snuggled up under your duvet.

Over the years I have discovered ways/hacks in which to help me fight to poop mood and put a smile back on my face! They work for me so maybe they can work for you too!
Share:

Sunday, 27 November 2016

5 Ways To Make Your Blog & Social Channels Easier For PR Companies

As most of you will already know I work in PR and social media (and LOVE it),  and I also, obviously, run this blog! It's so fun being both sides of the e-mails and I really enjoy interacting with fellow bloggers as well as fellow PR companies!
In my time within this industry I have talked to many fellow bloggers (and yes they are all total babes)!
When it comes to contacting and organising bloggers, I have noticed there can be a few things that hinder a company or brand getting the information they need so I thought why not write out a few TOP things for you guys to ensure you are including all the information that's needed!
Check out these 5 EASY bits and bobs below.....

Tell Us Your Name
Yes, you would think this would be a total given, but yet there are still blogs out there where there is actually no indication at all of what the writers name is.
 I hate having to write "Hi there" in my e-mails and one of my personal pet hates is getting e-mailed "Dear ayellowbrickblog".
I mean fair enough if you want to keep anonymous or not use your real name, but make sure there is something that we can call you by! I have been on Blogs, Twitters, Instagrams and more of the same person and still have no clue what their name is or what to call them!

Social Media - the kings of the internet
It is always fabulous to have your social media channels in plain sight on your blog and even better if your followings for each are showing! Being able to find all your platforms in one place is a life saver.... believe me!
(Oh and for the love of God... get them to open in a new tab :)

UK? North, South, East, West?
Now this one is handy for event invites!
If PR companies are looking for bloggers in a certain area it's great for them to be able to see if you are close enough or not!  I'm not saying give up your street name, postcode or even town but just the area you live in makes it so much easier for PR companies to send you relevant e-mails that may be of interest to you - Manchester, London, North West, South East, Isle Of Wight....  it's always good to know - even if it's just on your Twitter or Instagram!

Contacting YOU
It's all well and good finding your blog and loving your content - but if you want to be involved in PR opportunities, having your e-mail address prominent on your blog/social is essential.
Having a 'Contact Me' section is always perfect.... one where you have a contactable e-mail address too not a form to fill out ;)
Including it in your social media bios is also perfect - it makes life ALOT easier and saves so much time.

Searching...
Having a search option within your blog is also a fantastic addition and useful tool for people looking to work with you. It gives them access to be able to find any relevant content you may have created previously.

These may all seem SO super obvious but you may be surprised to know I sit there weekly looking at blogs unable to find names, e-mail address or even if they have a Twitter or not!
Do let me know if you'd like any other PR themed posts, or maybe if you have any questions at all!


Follow
Share:

Monday, 28 September 2015

Blogging Behind The Scenes : How I Make My Collages

This is a question I have been asked so many times over the last couple of years - 'how do you make those collages?"
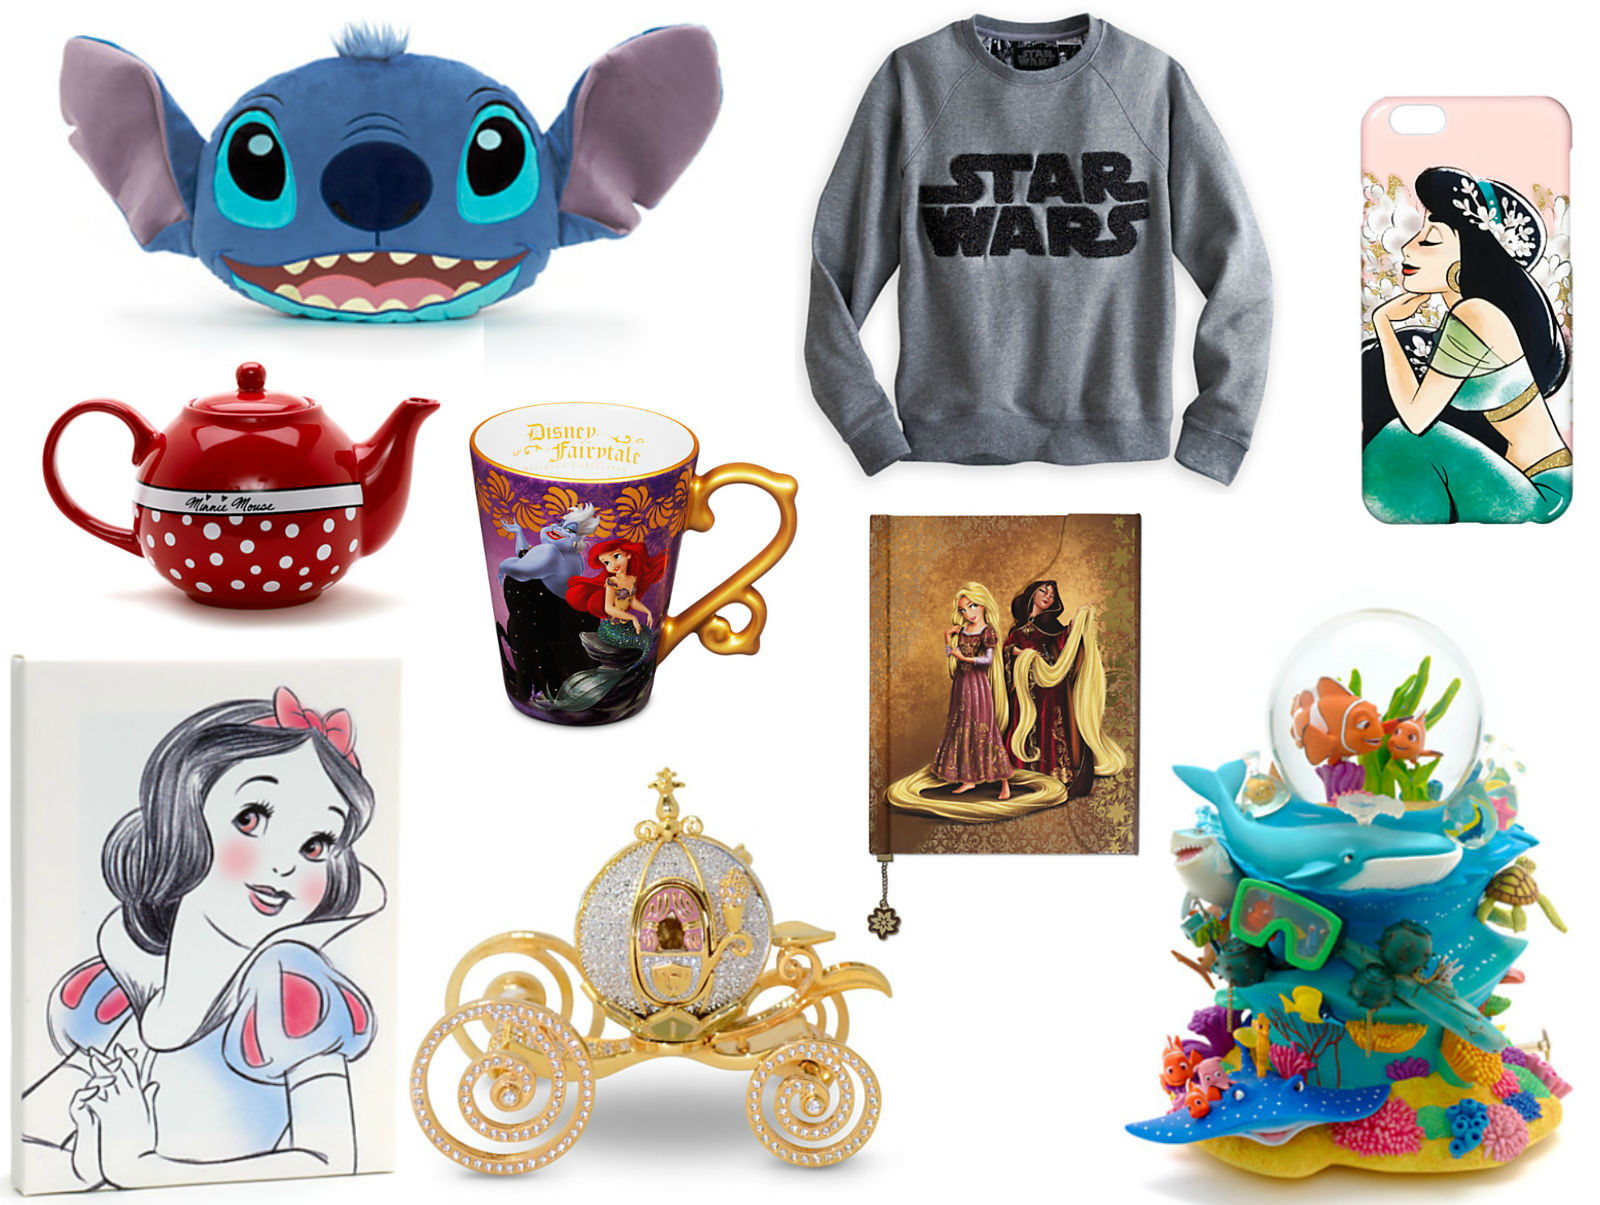
I'm talking about my wishlists, my 'I'm Loving' posts, my 'Dress Like Disney' posts etc etc. It's always kind of hard to explain over Twitter or on Facebook so I thought what better than to do a quick and easy 'How To' blog post for you all!

First up I use picmonkey.com (my ultimate blogging weapon!). 
These posts normally don't take me too long as most of the time I get all my content prepped before I start making the collage itself.
I head to PicMonkey and to get started I click edit, choose computer and find a previous collage I have done or a good sized photo.
Once the picture had uploaded I then go straight to 'Canvas Colour' and change it to plain white (colour code ffffff) to give me a fresh base to work on.
Once this is done I click the butterfly symbol tab on the side bar which is for overlays (pictures) and then go to the top option which is 'Your Own'.
Previous to this I normally have found all the pictures that I want to be included in the collage. Depending on what sort of post I am doing depends on where I get the pictures from but I near enough always go for a picture with a plain white background as it is easier to work with and well.... they look better!
I find the picture I want online (e.g. Stitch cushion) and save it to my computer.

Once I've found the image I want when I've clicked on 'Your Own' overlay I just double click and upload it to the picture.

I carry on doing this with all my pictures for the collage and then it's time for the fun part - to re-size, organise and make them into a pretty collage.
This part is normally pretty straight forward, sometimes I just need to eraser bits here and there if photos are laying on top of each other/blocking each other.
For this all I do is click on the photo in question and choose 'Eraser' - I usually whack my eraser size up to fairly large to make things quicker and  I just get rid of that white background from the picture that I don't need or that is in the way!
Another way I get around photos blocking each other is sending them to the front or back, which is when I send the photo chosen to be bought forward and lay on top of another photo or to be send behind.
After all the fiddling around and once I'm happy with the finished result I click combine all making the collage into one solid picture.
It's then time to save! I just hit the save button at the top which then gives you options as to how you would like to save your photo.
 ALWAYS save in PNG form, this ensures that the backdrop to your photo is bright white when uploading it to your blog, normally if you save it in JPG form it is a little grey and doesn't look as good.
And..... TA DA! Here's the finished project! (Everything pictured from the Disney Store UK)

I hope you guys found this helpful, let me know in the comments below and let me know if you'd like anymore 'How To' posts!

Like this post? Follow A Yellow Brick Blog on  Bloglovin so you never miss a thing!
Follow on Bloglovin

Share:

Thursday, 30 July 2015

TIME TO SAVE : 6 Ways I'm Going To Make It Possible

Now you may have read that title and thought.... well that Kirstie is 25 now, she's getting on a bit... she's probably decided to venture into the proper adult world and is going to start saving for a mortgage - or maybe she's finally going to learn how to drive?! But I'm about to disappoint you all..... and maybe even make some of you more sensible people roll your eyes.... but - I'm totes saving for a holiday!

And not any old holiday either.... yes... fingers crossed I'm heading back to Orlando aka Disneyworld & Universal! 

I've mentioned this a 'few' times on Twitter recently and you guys have been just as excited as me!
Orlando is not cheap. 
I mean, the holiday I've looked at is a fab deal (exactly the same as last time) but it's everything that comes along with it... the spending money, the new clothes, travel to and from the airport etc, etc! So for the next year I am going to be trying to SAVE SAVE SAVE as much as I can!
I did a post like this last time I was counting down to my holiday and I thought what better a motivator than to have my plans written on here in black and white so I cannot hide from them!
6 Ways I'm Going To Save Money

1. eBay
eBay is a website I have used for years and years but over the last couple of months I've just found it it more effort and time consuming than it's worth! BUT I'm determined to get back on the selling train and get rid of all clothing and bits and bobs that are just taking up space in my flat! If I haven't worn it this year.... it's going! I'm going to try and keep all that money in Paypal - like a virtual money pot and hopefully it will start adding up without me even realising! (My eBay account)

2. Meal Planning
I waste SO much money on food.
 Living in my own place with my boyfriend I'm forever picking up things here and there without even thinking 'Do I need this?' - I mean.... how many boxes of cereal do two people need? Just because its on offer doesn't mean we need it!
 I'm going to start planning all my meals so I don't over spend or waste anything! This also goes for snacks.... I'm a sucker for picking quick bites to eat whilst on my work breaks - but even just holding back from spending that £1 or 2 each work day will add up each month! 

3. Thinking Before I Buy
This is mainly aimed at my beauty addiction. Shampoos, conditioners, lipsticks... things I have plenty of already - I don't need anymore! There is no point buying a new shower gel if I already have 3 at home or buying a new candle because it smells nice even though I just bought a one the week before! I'll be thinking before every purchase!

4. Avoiding The Evil CC
I only got a credit card for the first time last year. It was probably a mistake because now, each month I seem to use it to bail myself out of being poor - but no more I say, no more!
 I'll be paying this off over the next year - slowly but surely -it will be left at home and will go nowhere near the ASOS sale!

5. The Money Pot
These are a great way of saving money! I got the one in the photo above for Christmas from my little brother - and I love it (obviously!) I have this one and another one to help me save, save, save - once it's in not coming out! Then when it's time.... Smash! 

6. Cash vs Card
This is something I am going to put into practice from right NOW! 
I am a sucker for just using my card for anything and everything, I'm like the queen... I never carry cash! This is a savers worst trait, buying things here, there and everywhere - no matter how small the price - really adds up, and without me even noticing! 
So I'm going to try and just withdraw maybe £10 a week to keep in my purse for those little things and maybe I'll think a little more about spending it when I can physically see it right there in paper and coins!

Like this post? Follow A Yellow Brick Blog on  Bloglovin so you never miss a thing!
Follow on Bloglovin
Share:

Tuesday, 17 March 2015

NEW Tangle Teezer Blow-Styling Brush

Tangle Teezer are a brand I have used for years and my tangle teezers are something I would be lost without! (yes, I own 3!)
So when I heard that they were releasing a new brush range into their collection I was all ears, you may remember it being featured in my Feb Beauty Wishlist!

Well the lovely people at TT were nice enough to send me one of the new Blow-Styling brushes to try out, so I thought I'd give you guys a little peek at what it looks like and what I think of it!
This brush is actually totally different to the original Tangle Teezer design we all know and love. For one, it has a handle - which was strange for me as I am so used to using the usual handleless TT's!
The blow-styling brush comes in two sizes - half paddle and full paddle, I have the half paddle brush which is designed for short to medium hair - and although my hair is getting fairly longish is seems to work well!

The blow-styling brush is, like the original Tangle Teezer, another ground-breaking hairbrushing product made especially for making a salon blow-dry an attainable and quick process in your own home with your own hands - no hairdresser necessary!
The main feature behind this awesome design is it's teeth, they are special quick-drying teeth which help extract surface water from the hair shaft. The revolutionary teeth not only help to dry your hair quicker but also aid in creating a less frizzy, smoother frow with more volume and shine!
Before using I tend to towel dry my hair and go through it with my normal tangle teezer first to help get rid of any knots .... this brush does not help with knots - it is seriously hard and stiff and will not help you with tangled hair! (In fact it would probably hurt!)
I then spray my hair with heat defence spray, I cannot live without that stuff, seperate my hair into 3 sections and use the brush to go through and dry my locks!

This brush is easy to use and helps to give my hair a great blow-dry without any awkward round-brush attempts. (which I am totally useless at!)
My hair has been left alot smoother than my regular hairdryer experience and definitely reduces the amount of straightening needed - in fact, I don't even think I'd need to full paddle this one works so well!
Thank you Tangle Teezer for another fantastic product to add into my haircare favourites!


Like this post? Follow A Yellow Brick Blog on  Bloglovin so you never miss a thing!
Follow on Bloglovin
To see videos check out A Yellow Brick Vlog on YouTube
Share:
© Aloha Kirstie | All rights reserved.
Blogger Template Developed by pipdig